
The complete guide
Anti Mould Paint: How to Stop Mould Coming Back on Walls and Ceilings
If you have cleaned the same mouldy wall three winters in a row, you already know that removing mould is only half the fight. Ordinary paint gives mould a surface to grow on, and in a damp room it comes straight back. An anti mould paint changes that by leaving a finish designed to resist mould for years. This guide explains how it works, where to use it, and how to get a result that lasts.
What Mould Stop Paint is
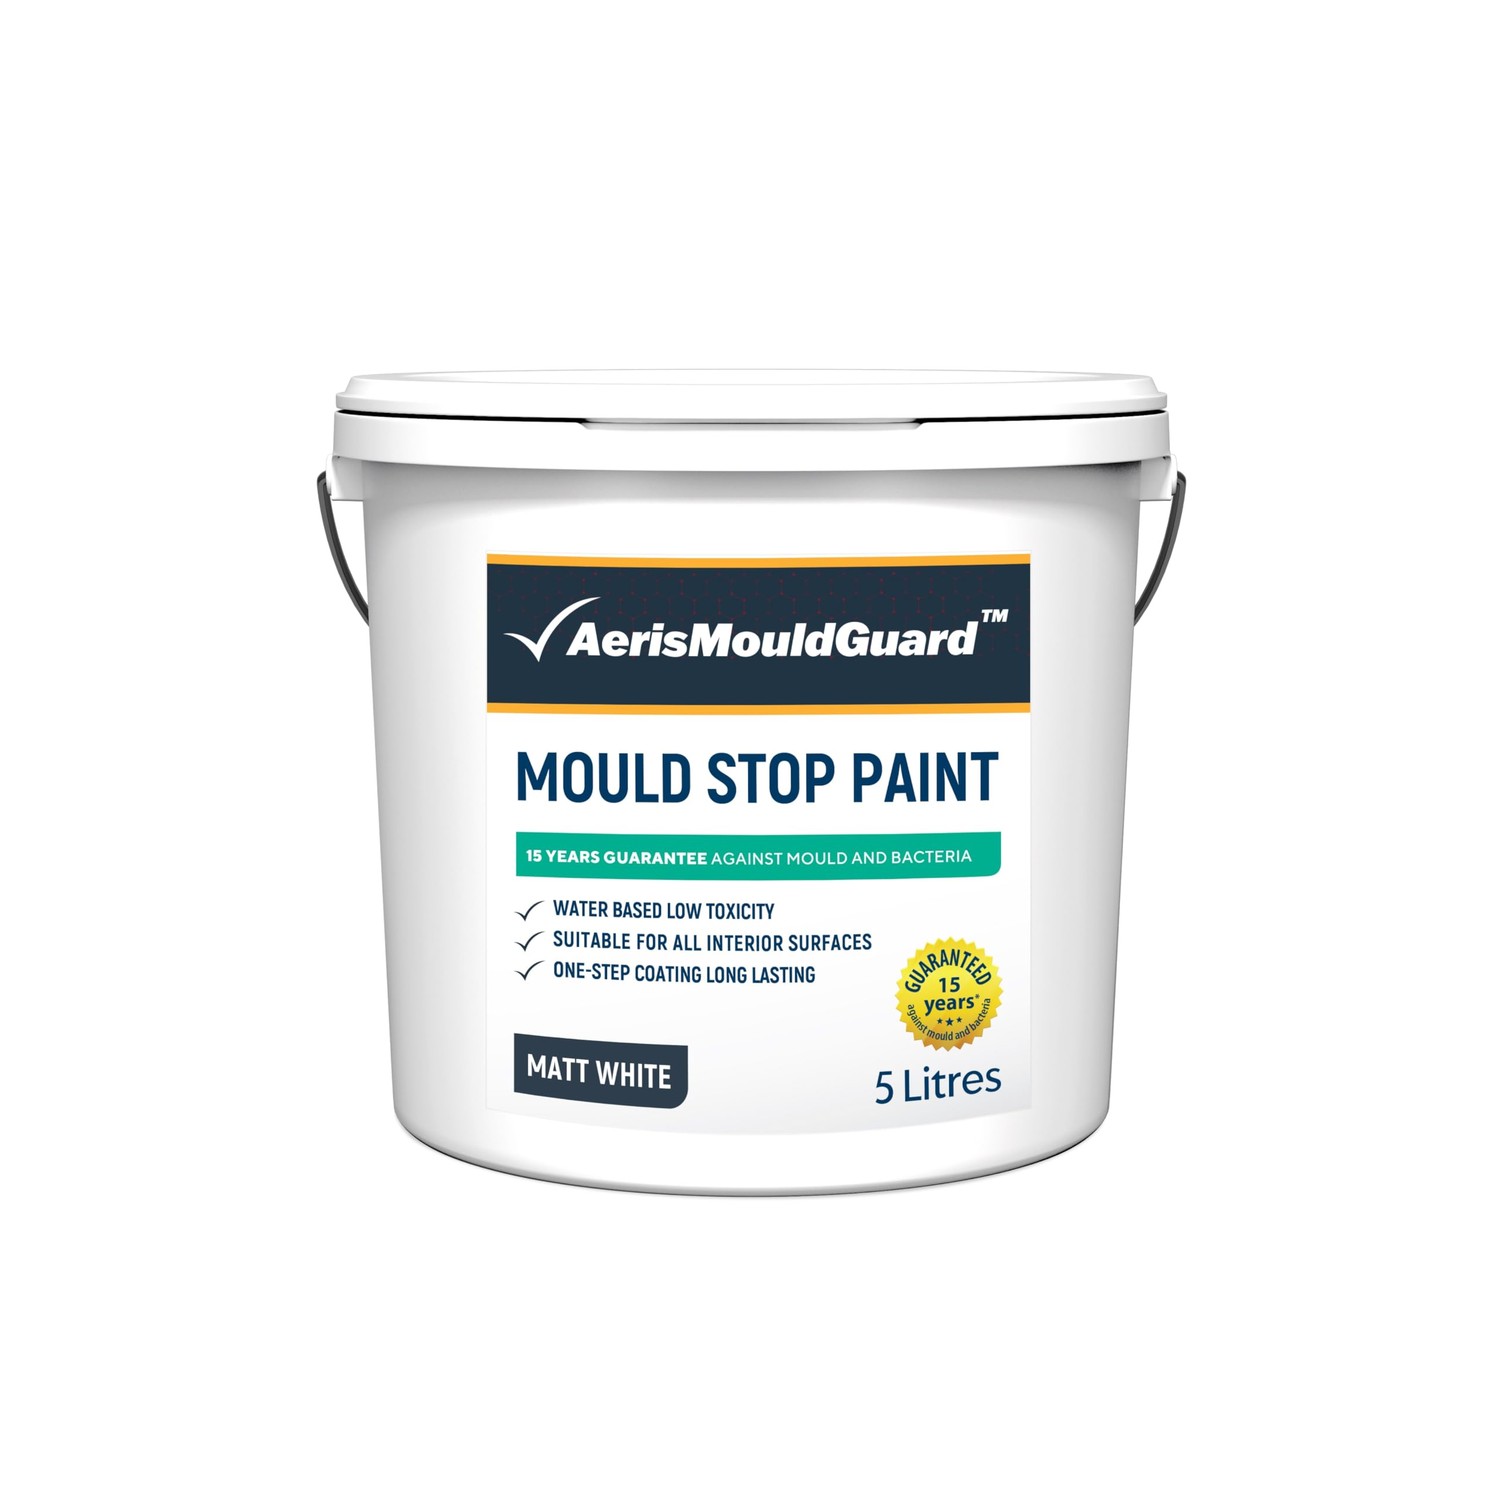
AerisMouldGuard Mould Stop Paint is a water-based interior coating built for the rooms where mould keeps returning. It goes on white with a matte finish and gives suitable interior surfaces up to 15 years of anti-mould protection. It is Australian made by Aeris Environmental, and the dry film is lead-free and conforms to AS1647 Part 3.
The big practical advantage is the low odour. It is ultra-low VOC with very low odour, so you can paint in occupied hours without moving out for the weekend. It is touch-dry in about 30 minutes, ready to recoat in about 2 hours, and reaches full cure in about 7 days.
It is not a cleaner and it is not a magic fix for a wet wall. It is a coating you apply to a prepared, dry surface to stop mould taking hold again. Used the right way, it turns a wall that grows mould every winter into one that stays clean.
Why ordinary paint fails in damp rooms
Bathrooms, laundries and kitchens share three things mould loves: warmth, moisture and still air. Ordinary interior paint is a food source and a foothold for mould in those conditions. You can scrub the wall clean, but the moment the room gets damp again the mould returns, because nothing about the surface discourages it.
A mould resistant paint works on the surface itself. Instead of just covering the wall, it leaves a finish that resists mould growth, so the same damp conditions no longer lead to the same black spots. That is why a coating like this keeps working for years while a cleaned-and-repainted wall with ordinary paint is often mouldy again by the next season.
It is worth being clear about what it does and does not replace. It is a strong layer of defence, but it does not remove the moisture that feeds mould. The best results come from pairing the paint with better ventilation and fixing the source of the damp.
Where to use it
This is an interior product for moisture-prone rooms.
Bathrooms and ensuites
Bathrooms are the classic case. Steam rises, walls and ceilings stay damp, and mould appears on the ceiling and in the corners. Use the paint on wall and ceiling surfaces here, not on the tiles or inside the shower itself. Two coats give even protection in the spots that get the most steam.
Laundries and kitchens
Laundries trap moisture from washing and drying, and kitchens get damp and warm around sinks and cooking areas. Both are good candidates for a mould stop paint on their walls and ceilings. Keep it to painted surfaces, not splashbacks or worktops.
Other damp interior rooms
Any interior room that stays damp, such as a poorly ventilated bedroom on a cold outer wall, can benefit. What matters is that the surface is interior and out of direct sunlight, because the anti-mould protection does not cover surfaces in direct sun or exposed to UV.
How to get a lasting result
The paint is only as good as the surface you put it on, so preparation is where the job is won or lost.
Remove the mould first
Do not paint over live mould. Kill and remove any visible mould with a mould remover, then let the surface dry fully. Painting straight over damp, mouldy wall traps the problem underneath, and it will push through the new coating. Treat first, dry second, paint third.
Clean and dry the surface
Once the mould is gone, clean off dust, grease and any flaking old paint so the coating can bond. Make sure the wall is properly dry, not just surface-dry. In a damp room that can mean giving it a day with the fan running.
Apply two coats
Use a roller for large flat areas and a brush for edges and corners, the same as ordinary paint. Apply the first coat, wait about 2 hours, then apply the second. Two coats give the most even protection and the cleanest white finish. Let the finished surface cure for about 7 days before you clean or scrub it.
Let it cure properly
It is touch-dry fast, but full cure takes about a week. During that time, treat the surface gently and keep the room ventilated. Rushing to scrub or knock the fresh coating can mark it before it has hardened.
Coverage and how much you need
Coverage is around 10 to 12 square metres per litre, so a 5 litre tin covers roughly 50 to 60 square metres per coat. Because most jobs use two coats, plan on that tin covering around 25 to 30 square metres finished, which is about one to two average bathrooms or a laundry.
Measure the wall and ceiling area you plan to paint before you order, and allow a little extra for a second coat and for touch-ups. Running out halfway through a room and waiting for more stock is the kind of delay that is easy to avoid.
Colour and finish
It is white with a matte finish out of the tin, which suits most bathrooms, laundries and kitchens. If you want a colour, it can be tinted to light colours. Deep and dark tints are not suitable, so keep to pale shades. The matte finish hides minor surface imperfections better than a gloss, which is another reason it works well on older walls.
Safety and clean-up
The low odour makes this a friendlier paint to use indoors than strong solvent products, but a few habits still matter. When you remove the old mould before painting, wear gloves, eye protection and a mask, because disturbing mould lifts spores into the air. While painting, ventilate the room and wear gloves. Keep children and pets out of the wet area until it is dry.
For clean-up, being water-based means brushes and rollers wash out with water. Store leftover paint sealed and upright in a cool place away from frost and direct sun, and out of reach of children and pets. Once the wall is fully cured, clean it with a soft cloth and mild detergent, and avoid harsh abrasives that wear the coating.
The bottom line
Mould Stop Paint is for the wall you are tired of cleaning. Remove the mould, dry and prep the surface, and put two coats on, and you replace a wall that grows mould every winter with one that resists it for years. Pair it with better ventilation and by fixing the damp, and you deal with the cause as well as the symptom. For bathrooms, laundries and kitchens, that is how you paint the mould problem out for good.